linkOverview
This page covers the installation of Amplenote on desktop devices, both as a PWA and as a native desktop app, to ensure the Amplenote app is available for offline use.
For installing the Amplenote app on mobile, check out the article Platform & Devices Supported.
linkInstalling the desktop app on Windows, macOS, or Linux
As of 2024, we now allow users with a pro subscription or above to download a dedicated desktop app for Windows, macOS, and Linux platforms. To download the app for your specific platform, open your account settings and navigate to "Apps & Devices."

Click on one of the buttons to download the version compatible with your Operating System.
If you click on one of the options, an executor file will be downloaded to your system. Once you execute it, Amplenote should automatically download to your device.
linkInstalling the PWA on Windows, macOS, or Linux
You can install the Amplenote PWA (Progressive Web App) in Windows, macOS, or Linux by using the install link shown upon logging into Amplenote from the Chrome or Brave web browsers:
Link to install Amplenote. Note that this option becomes available after logging in to the app in Chrome or Brave.

Once you click that link to install the app, you will have the opportunity to install the Amplenote app:

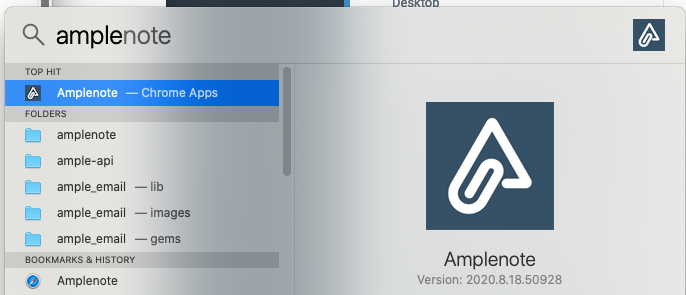
This makes it available via the OS Search Spotlight (macOS shown, should apply to Linux and Windows as well):
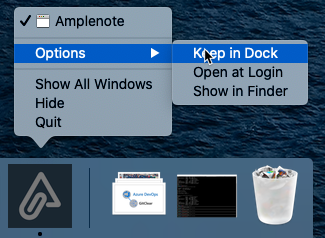
It also gets its own icon, which can be pinned to the dock on macOS:
At some point after Amplenote is installed, your browser will ask you whether you'd like to allow Amplenote to store data. You'll want to answer "yes" to this, otherwise the web browser won't allow Amplenote to function properly. More details about this in the "Permitting storage access" section below.
link
linkPermitting storage access
For Amplenote to work in web browsers, it must be granted permission to store data to what web browsers refer to as "web storage" or "local storage." Without access to this storage mechanism, Amplenote can generally keep only a few megabytes of data, which equates to less than 100 notes and probably no images. We have done little testing of how Amplenote works when local storage is disabled, so we consider this an unsupported usage mode.
If you declined to give Amplenote access to web storage when you'd first started using the app, you should be able to enable it using the following browser-specific steps:
linkChrome
To enable/disable Web Storage, type chrome://settings/content/cookies in the address bar. On the subsequent screen toggle the "Allow sites to save and read cookie data" setting. Note: This will affect both Web Storage and cookies.
linkFirefox
To enable/disable Web Storage in Firefox, type about:config in the address bar to view advanced settings (you may need to click an "I accept the risk!" button in order to view settings). Scroll down to (or search for) dom.storage.enabled, right click on the entry where you can toggle its enabled/disabled state.
If you find these steps inadequate to enable Web Storage in your browser, please email support@amplenote.com so we can work with you to better understand how to enable this for your browser (at which point we will update these docs... the Internet is very vague as to the exact steps to ensure Web Storage is enabled on a per-site, per-browser basis).
linkTroubleshooting the Amplenote PWA (Progressive Web App) when it doesn't open in a separate window
If you've succesfully installed Amplenote in Chrome or Brave, but launching the app via the OS icon opens it as a new tab in an existing browser session, you might need to edit the app's configuration.
Follow the steps below to ensure that the Amplenote PWA app is configured to run in a separate window:
In Chrome, navigate to chrome://apps
Right click on the Amplenote icon and choose "Open as window"
Try launching the app again!
linkEnable Multiple PWA tabs (beta Chrome feature)
Thanks to u/Enraged-Programmer for this contribution 🙏!
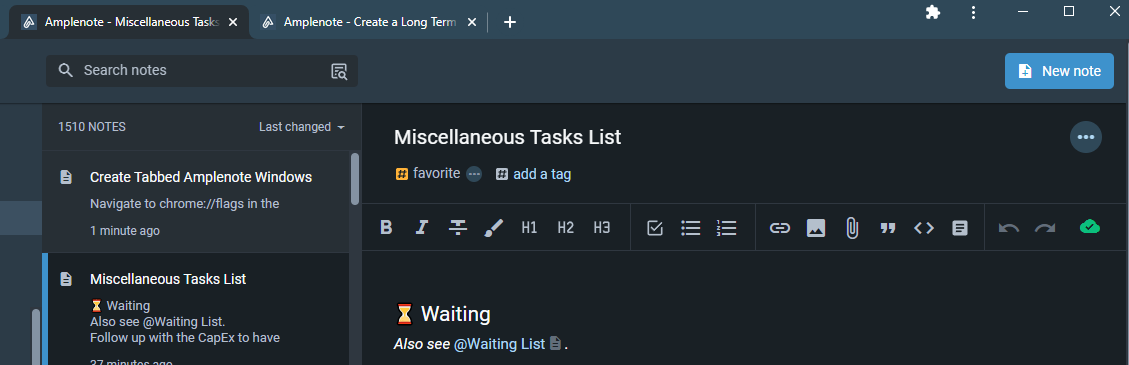
Creating tabbed windows allows multiple instances of Amplenote PWA to be active at once. This allows someone to have the calendar and multiple note windows open at once.
Use Ctrl + Page Up/Down to navigate between the tabs quickly. The picture below demonstrates a typical setup with a calendar open and one or two note windows.
⚠️ Note: There is a visual error that can be seen in the screenshot where the window title overlaps the tab on the far left. It is less noticeable if you toggle the first tab to the light theme so the tab is almost the same color of the text.

linkEnabled Tabbed Windows
Here are the steps to have this functionality:
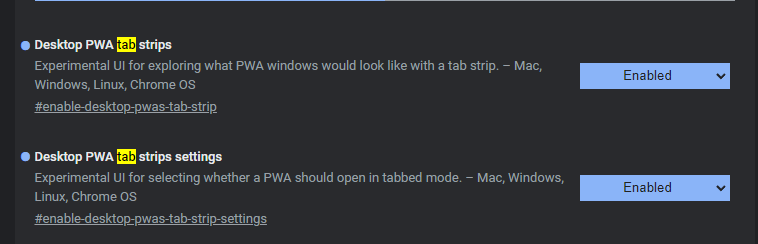
In Chrome, type chrome://flags in the browser's address bar and press enter. Use the search function to look for the two settings seen in the screenshot below. Enable them using the drop downs to the right.
Restart Chrome to allow the changes to take effect.
Once Chrome has been restarted, you must now recreate the PWA shortcut to use the new options enabled in step 1.
Navigate to your notes at amplenote.com.
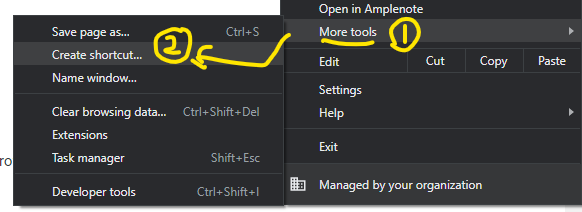
Open Chrome's hamburger menu, and then mouse over More tools ( 1️⃣ below).
In the more tools submenu, click on Create shortcut... ( 2️⃣ below).
A new dialog will open the center of the screen. Select the radio button for 'Open as tabbed window'. Finally, press the create button.
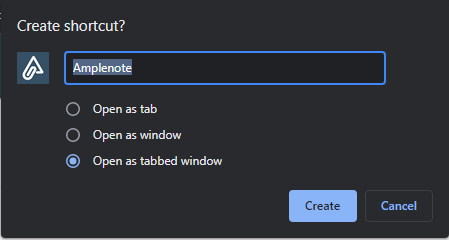
Here's an example of the final result:
linkTab Groups
Using Chrome's tab group functionality, you can set up your PWA to visually distinguish between your tabs. You can see how this looks in the screen capture below.
The group on the left is set to a while theme and is titled with the calendar emoji. To the right is a blue group with various note tabs.

linkUpdating Amplenote
We are always implementing new changes to the web and desktop apps, either with new features or fixing existing bugs. Whenever a new update is available, an icon will appear in the top right corner to remind you that the app needs to apply a new update. The app automatically downloads updates, but you must restart it to apply them.
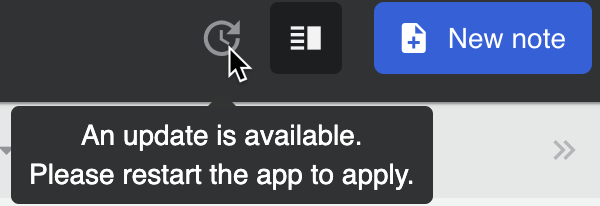
Icon that will appear anytime a new update is available.